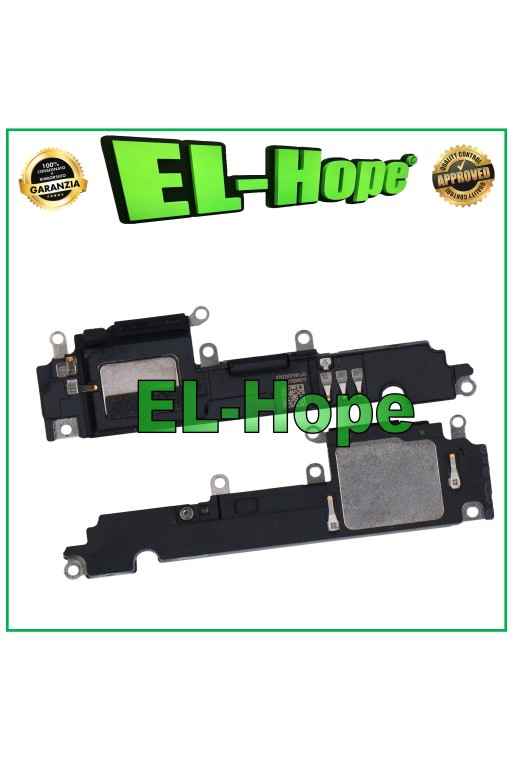
BUZZER RINGTONE FOR APPLE IPHONE 14 PLUS SPEAKER HANDS-FREE QUALITY A+++
CIAK-26
Specific References
EAN13
7424615931932
Toutes les expéditions sont effectuées par le service de messagerie express GLS :
24/48 heures ouvrables pour la plupart des villes,
72 heures ouvrables pour la Sardaigne et les zones difficiles d’accès.
Les samedis, dimanches et jours fériés ne sont pas comptés comme jours ouvrables.
Toutes les commandes sont traitées dans les 24 heures suivant la confirmation de la commande, et celles passées avant 11h00 sont expédiées le jour même.
9D 3D CURVED FULL GLASS TEMPERED GLASS PROTECTIVE FILM FOR APPLE IPHONE X - XS - 11 PRO. Ultra-thin 3D FIT technology film to ensure greater touch sensitivity. Rounded edges that maximize adhesion across the entire surface of the LCD panel. Transparent - scratch-resistant - shockproof. A+++ QUALITY
NB: THE CONNECTOR IN QUESTION REFERS TO THE FPC CONNECTOR SOLDERED ON THE MOTHERBOARD. FPC CHARGE CHARGING CONNECTOR TO BE SOLDERED ON THE MOTHERBOARD FOR IPHONE 13 PRO QUALITY A+++
NB: THE CONNECTOR IN QUESTION REFERS TO THE FPC CONNECTOR SOLDERED ON THE MOTHERBOARD. FPC CHARGE CONNECTOR TO BE SOLDERED ON THE MOTHERBOARD FOR IPHONE 14 PRO MAX A+++ QUALITY
BATTERY DIAGNOSTICS ERROR REMOVAL PERCENTAGE CHARGE FOR IPHONE 12 PRO MAX 3687mAh OPEN THE LINK BELOW FOR THE DEMONSTRATION VIDEO. ⬇️ ⬇️ ⬇️ ⬇️ ⬇️ ⬇️ https://www.youtube.com/watch?v=mwL_ev8R56k The battery in question removes the iOS error notification during battery replacement by resetting the charging cycles. The percentage of charge of the new battery can be read again by the iPhone. No transfer of the original chip is required, once the battery has been installed and the procedure described and demonstrated in the video has been followed, the capacity / percentage of charge will be recognized again by the iPhone. The operation does not require any programmer or microsoldering Installation procedure: • Insert the self-diagnostic battery into the device and connect it to the motherboard • Turn on the device using the On/Off button • Connect to a WiFi or GSM network • Go to Settings > General > Info > Parts and service history > Restart and complete the repair • In the Repair and service area, continue the configuration, connect to WiFi and accept the Privacy • Wait for the automatic completion of the configuration: the battery will be recognized correctly • Continue and restart to complete the replacement without error messages and with maximum capacity • Once the installation is complete, in Settings you will find: Battery capacity: 100% Status: Used DO NOT LOSE THE SUPPLIED DOUBLE-SIDED ADHESIVES OR DAMAGE THE BLISTER, AS THIS WILL VOID THE WARRANTY. The battery in question removes the iOS error notification during the replacement of the battery itself by resetting the charge cycles. The charge percentage of the new battery can again be read by the iPhone. No transfer of the original chip is required, once the battery has been installed and the procedure described and demonstrated in the video has been followed, the capacity / percentage of charge will be recognized by the iPhone again. The operation does not require any programmer or microsoldering Installation procedure: • Insert the self-diagnosing battery into the device and connect it to the motherboard • Turn on the device using the On/Off button • Connect to a WiFi or GSM network • Go to Settings > General > Info > Parts and service history > Restart and complete the repair • In the Repair and service area, continue the configuration, connect to WiFi and accept the Privacy • Wait for the automatic completion of the configuration: the battery will be recognized correctly • Continue and restart to complete the replacement without error messages and with maximum capacity • At the end of the installation, in Settings you will find: Battery capacity: 100% Status: Used DO NOT LOSE THE DOUBLE-SIDED ADHESIVES PROVIDED OR DAMAGE THE BLISTER, TO LOSE THE WARRANTY.